Register
|
Login
A9 Dualling
A9 Engage
Overview
Sections
News
Roadworks
Delivery Plan
Social Value
A9 Dualling
A9 Engage
A9 Dualling
Overview
Sections
News
Roadworks
Delivery Plan
Social Value
Home
>
A9 Dualling
>
Sections
>
A9 Dualling Central
>
Glen Garry to Dalwhinnie
>
Gallery
>
Photography
Glen Garry to Dalwhinnie Photography
DATE
November 2021
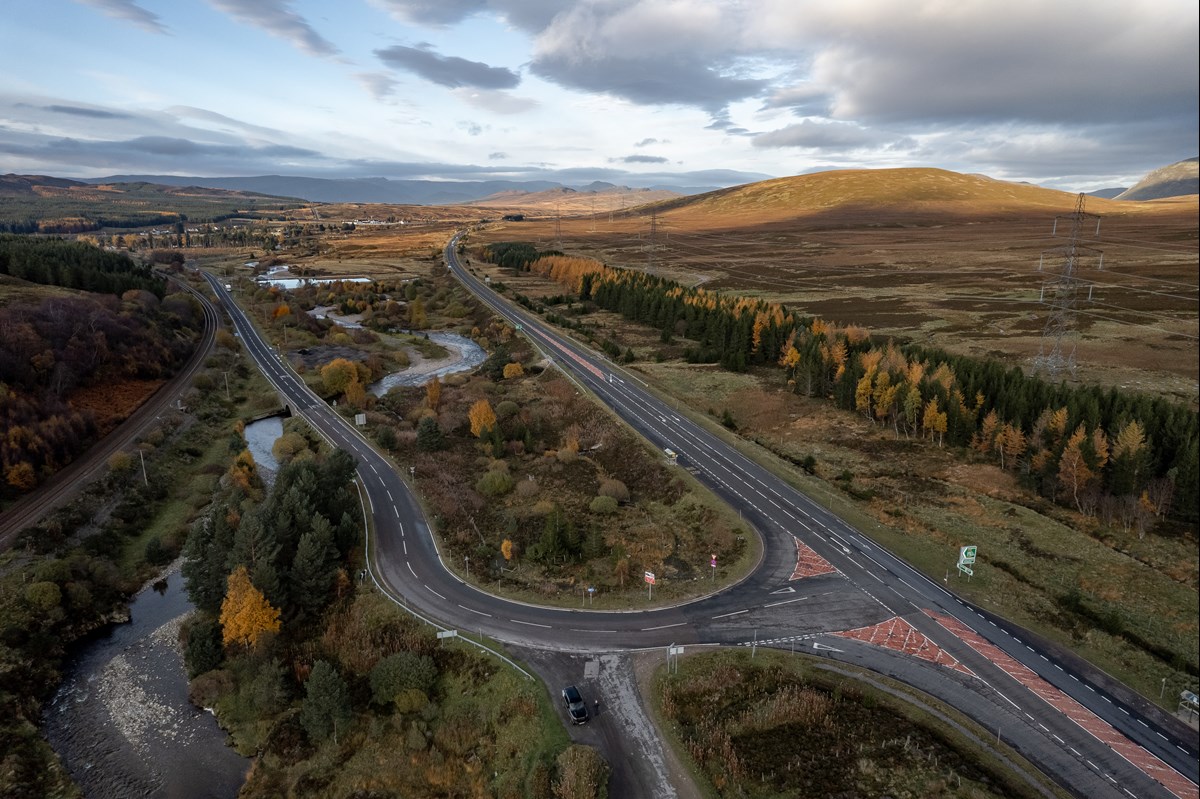
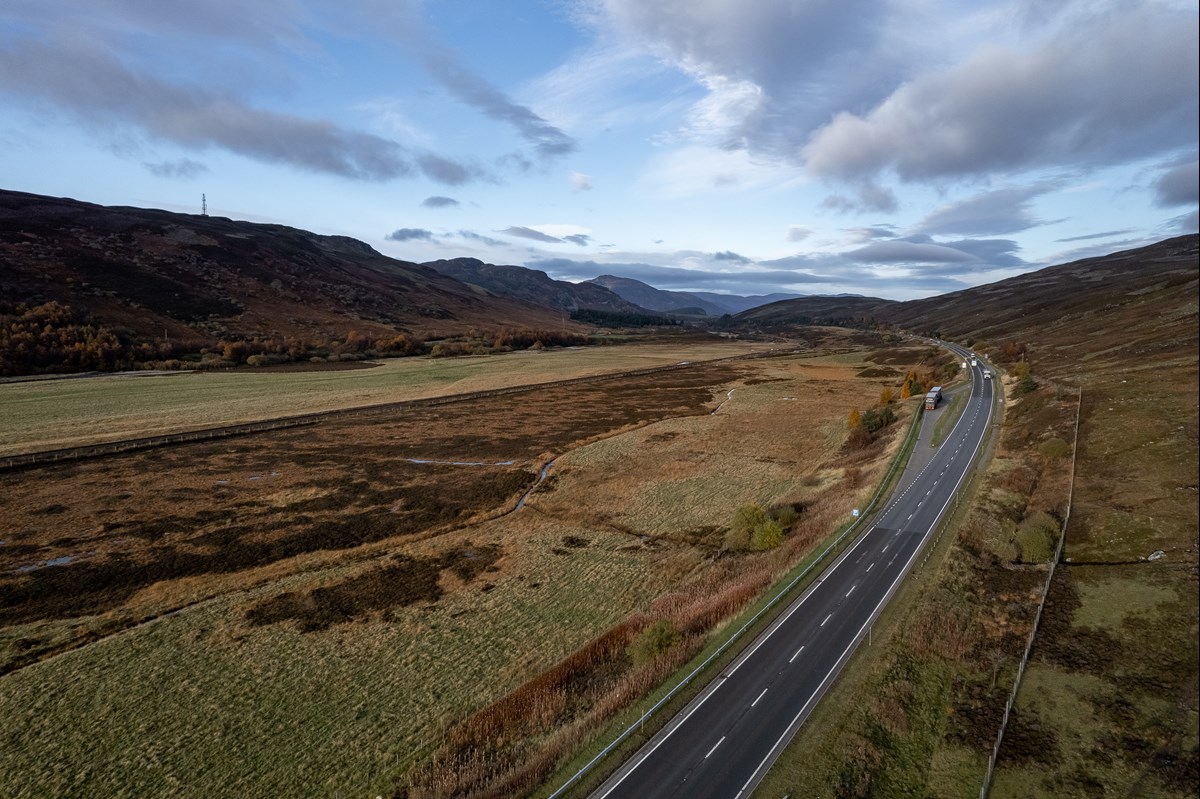
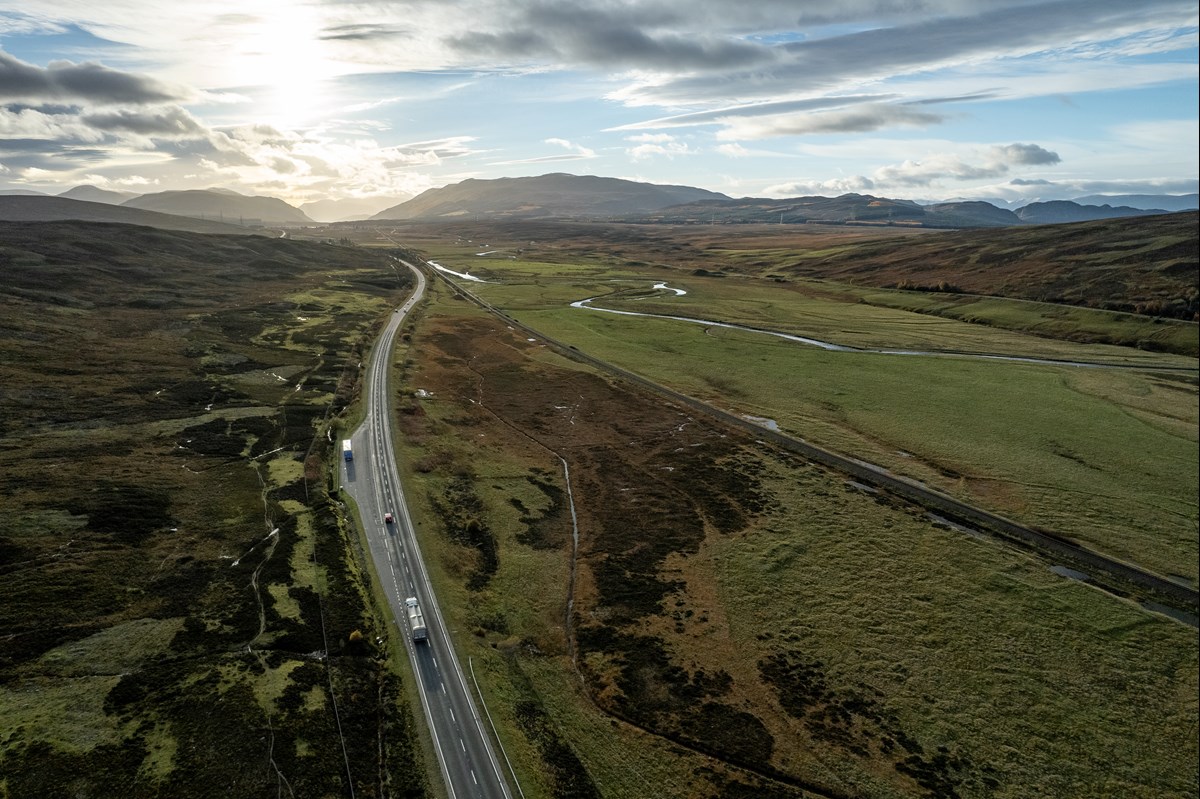
Glen Garry to Dalwhinnie looking south - 4th Nov 2021
Glen Garry to Dalwhinnie looking south - 4th Nov 2021
Glen Garry to Dalwhinnie looking south - 4th Nov 2021
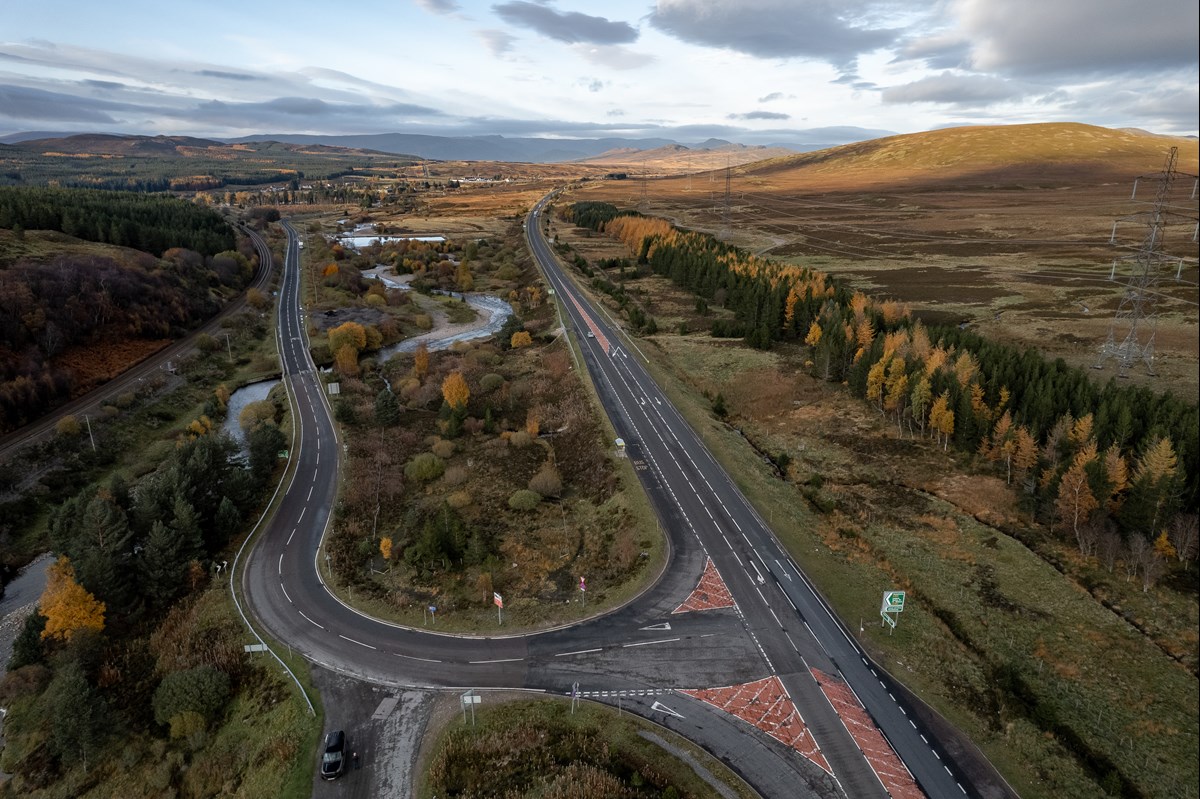
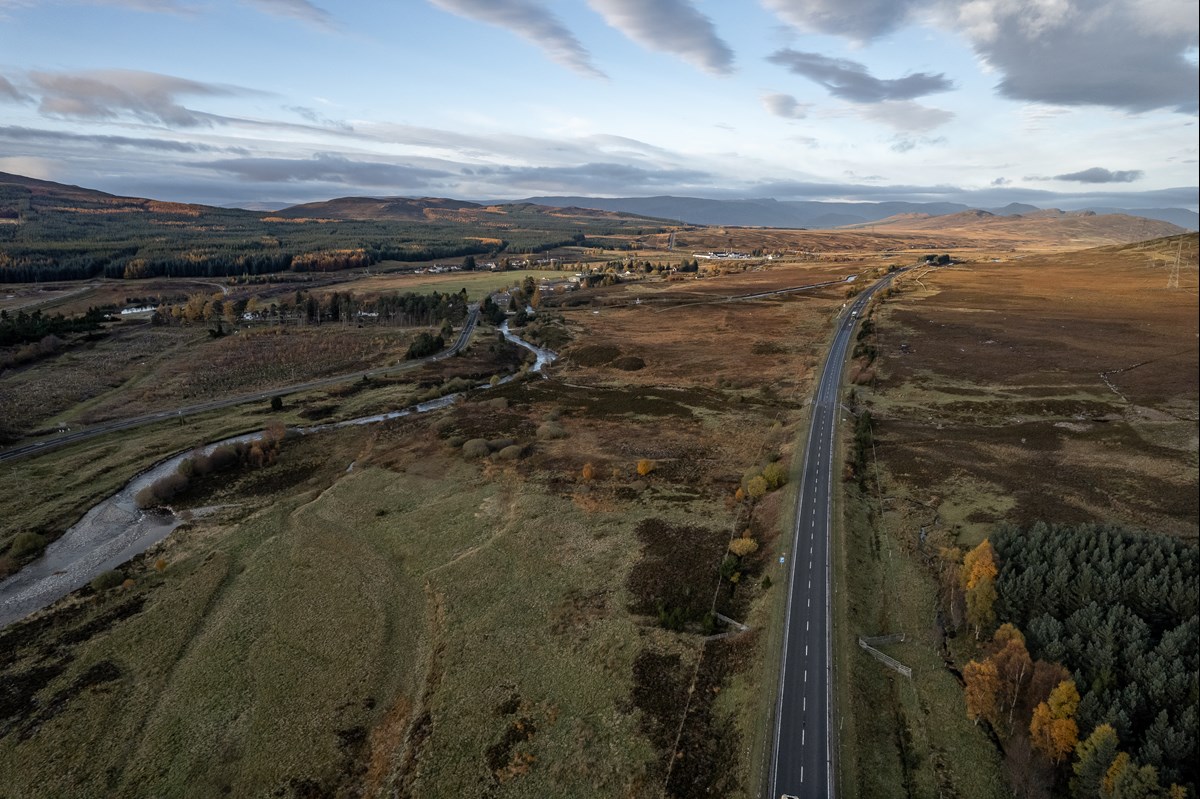
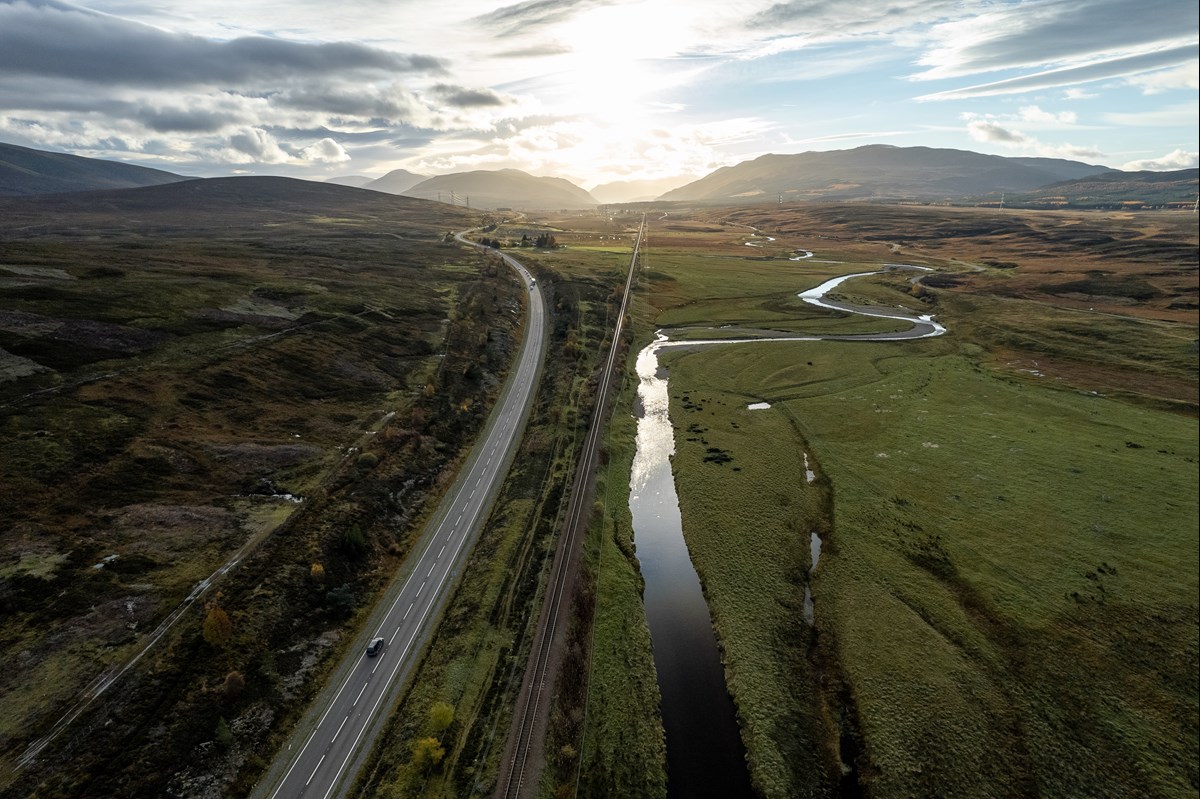
Glen Garry to Dalwhinnie looking north - 4th Nov 2021
Glen Garry to Dalwhinnie looking north - 4th Nov 2021
Glen Garry to Dalwhinnie looking north - 4th Nov 2021
Glen Garry to Dalwhinnie looking north - 4th Nov 2021
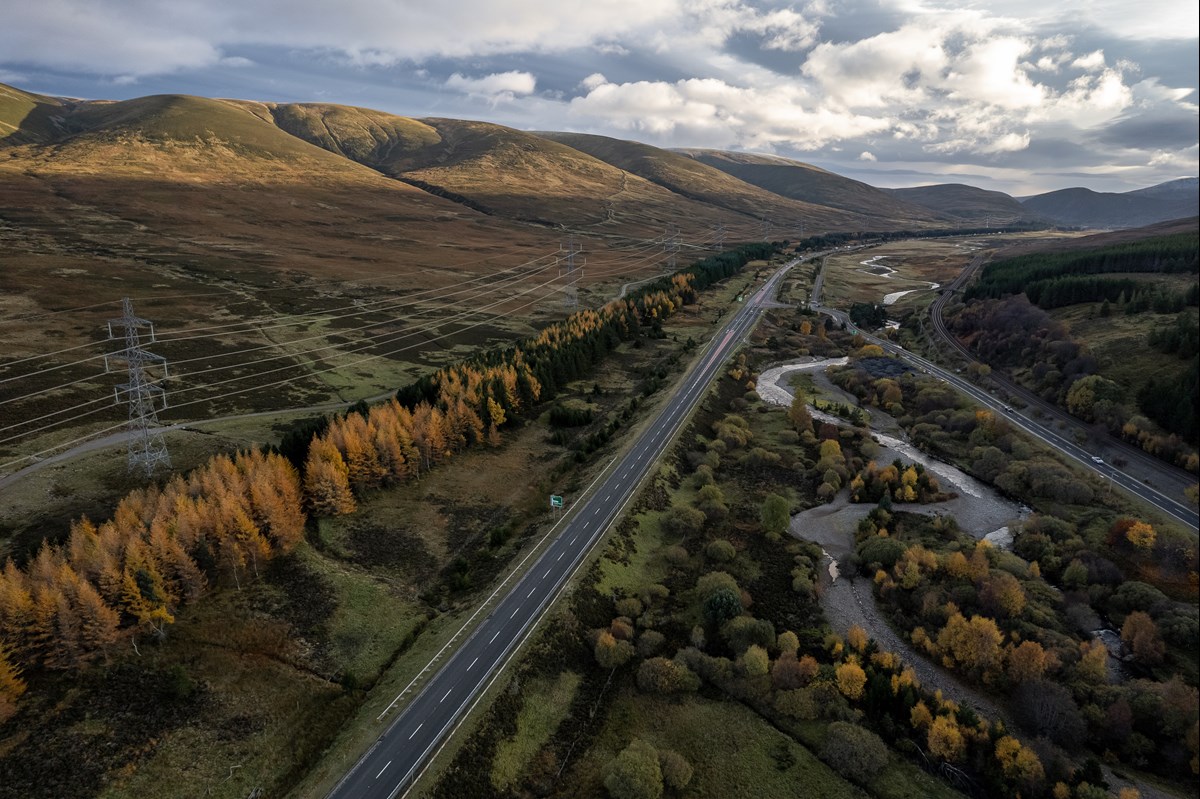
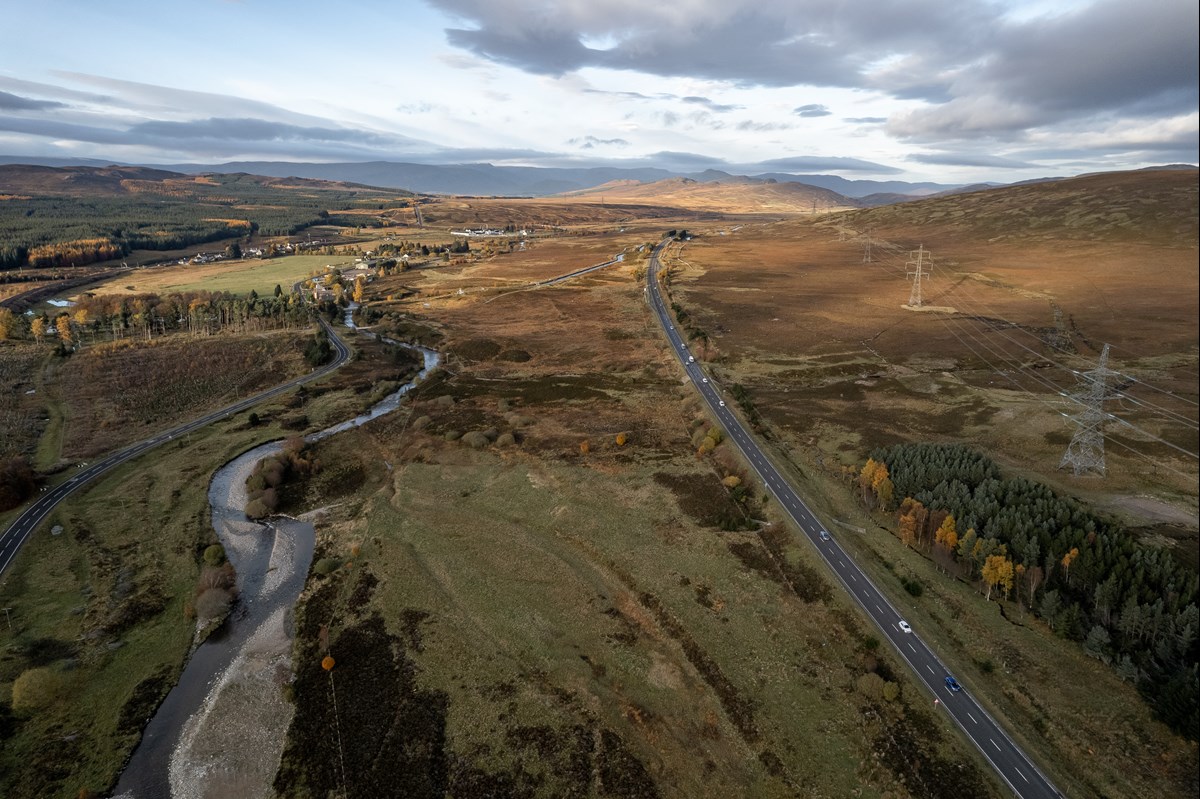
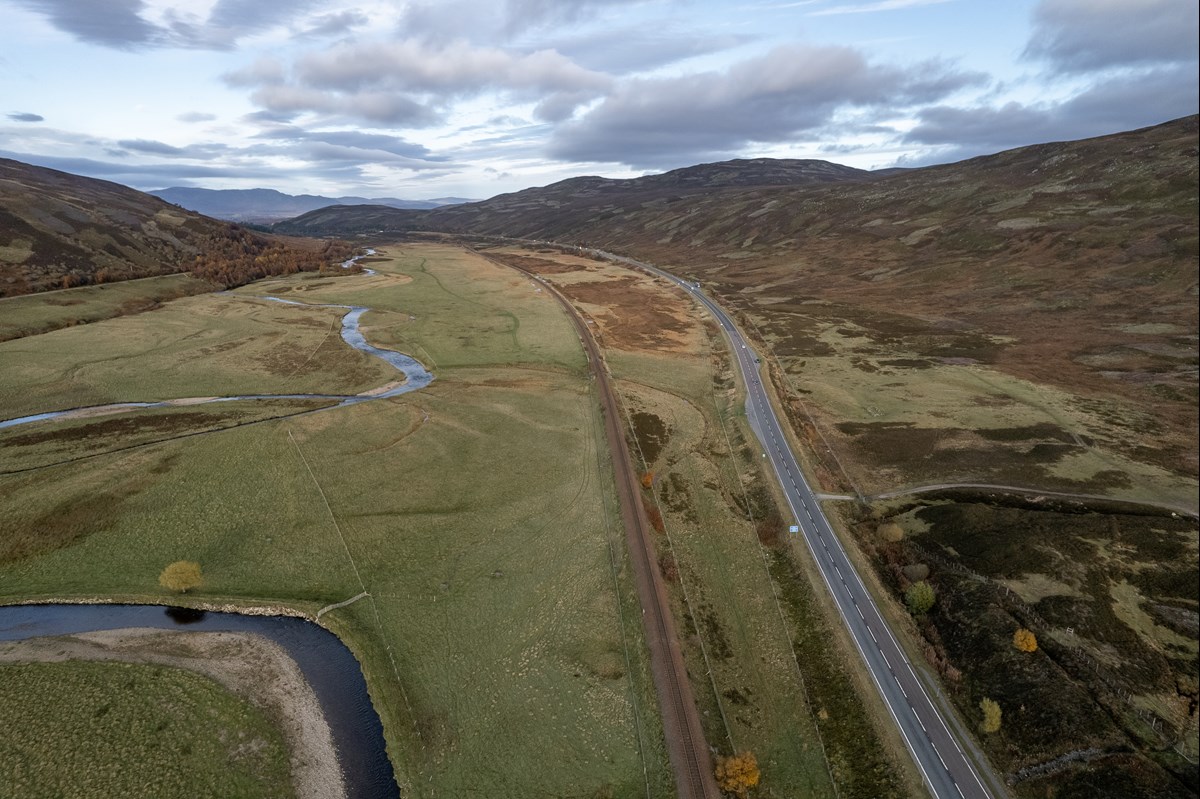
Glen Garry to Dalwhinnie looking south - 4th Nov 2021
Glen Garry to Dalwhinnie looking south - 4th Nov 2021
Glen Garry to Dalwhinnie looking south - 4th Nov 2021
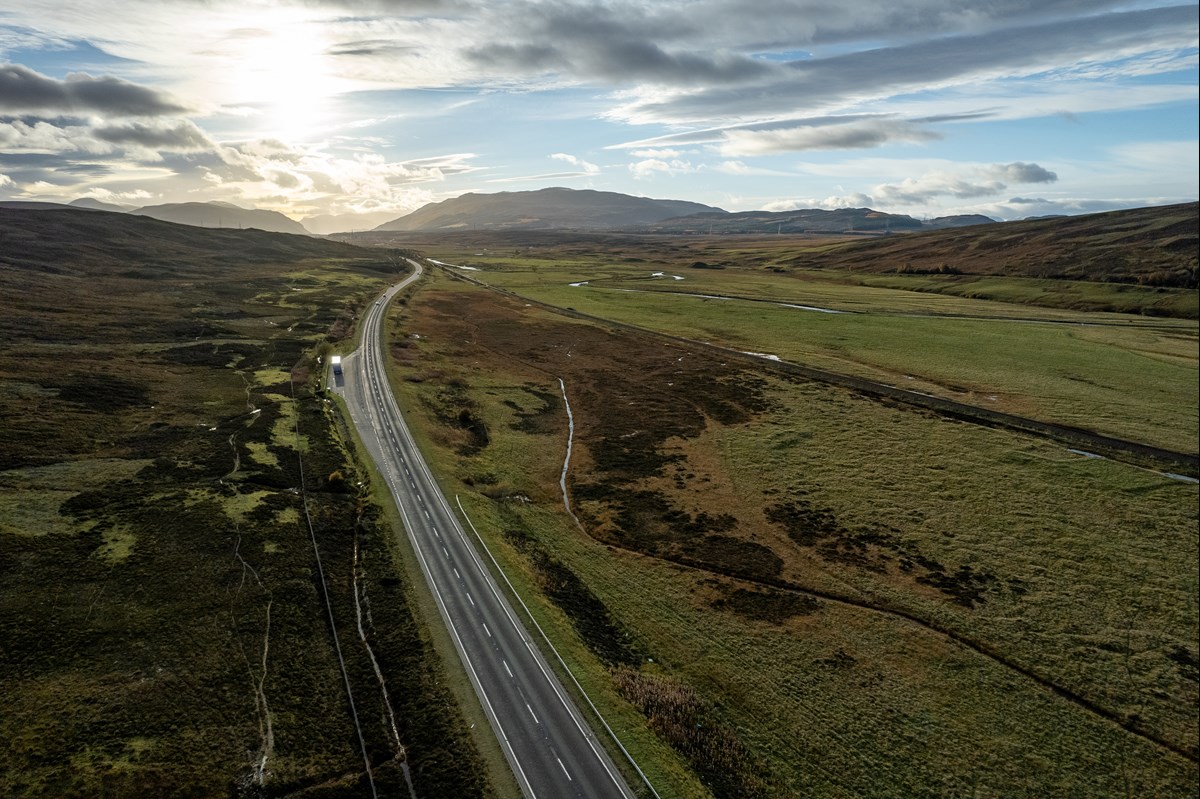
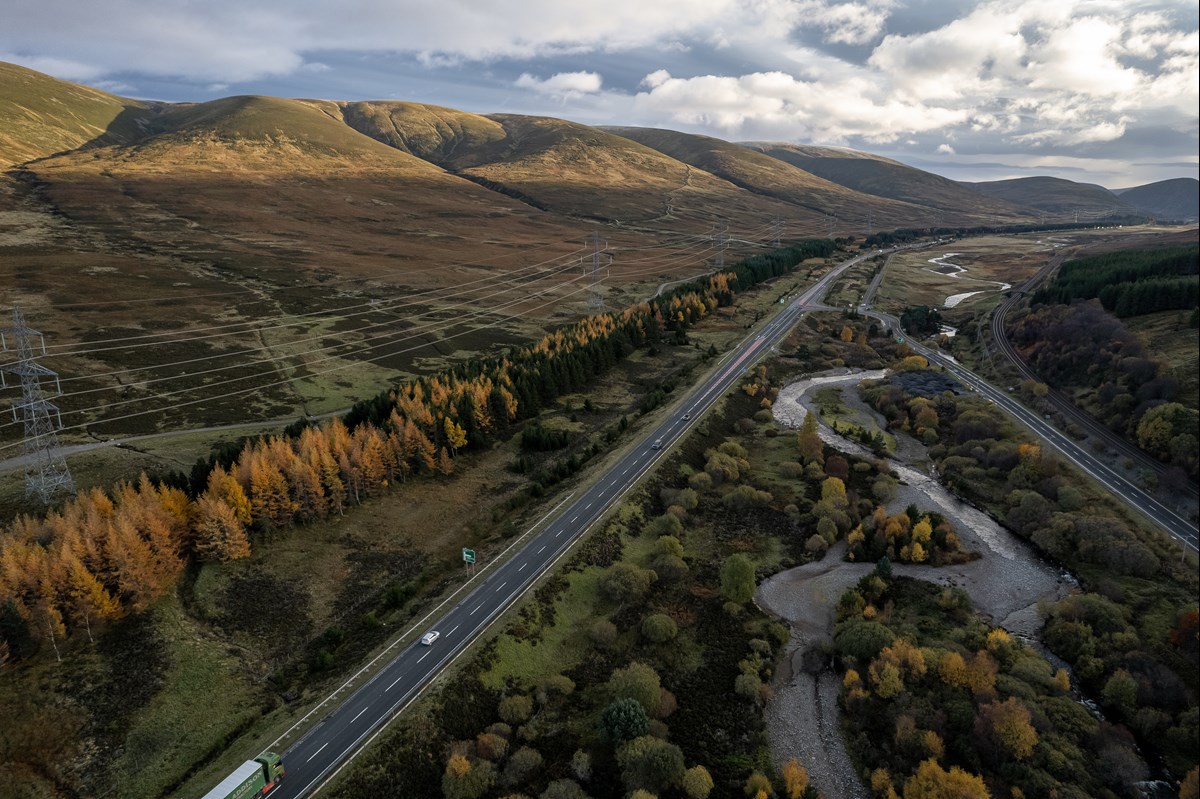
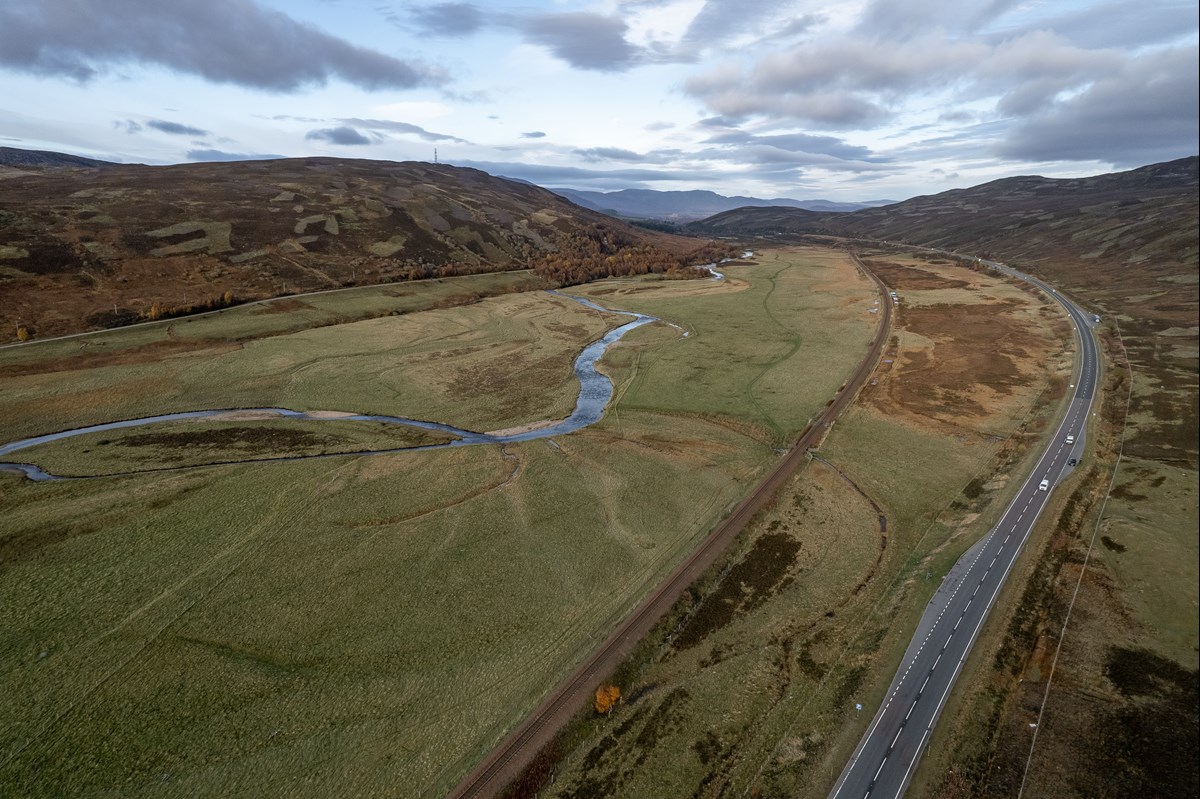
Glen Garry to Dalwhinnie looking north - 4th Nov 2021
Glen Garry to Dalwhinnie looking north - 4th Nov 2021
1
2