A9 Dualling Light Bg
Login / Register icon Register Login
A9 Dualling
A9 Engage
Overview
Sections
News
Roadworks
Delivery Plan
Social Value
A9 Dualling A9 Engage
A9 Dualling
Overview Sections News Roadworks Delivery Plan Social Value
Home > A9 Dualling > Gallery > Photography

Photography Gallery

Photography is listed in chronological order to make it easier to see the progress of construction works.  A search facility is also available if you are looking for something specific or prefer to focus on a particular location. 
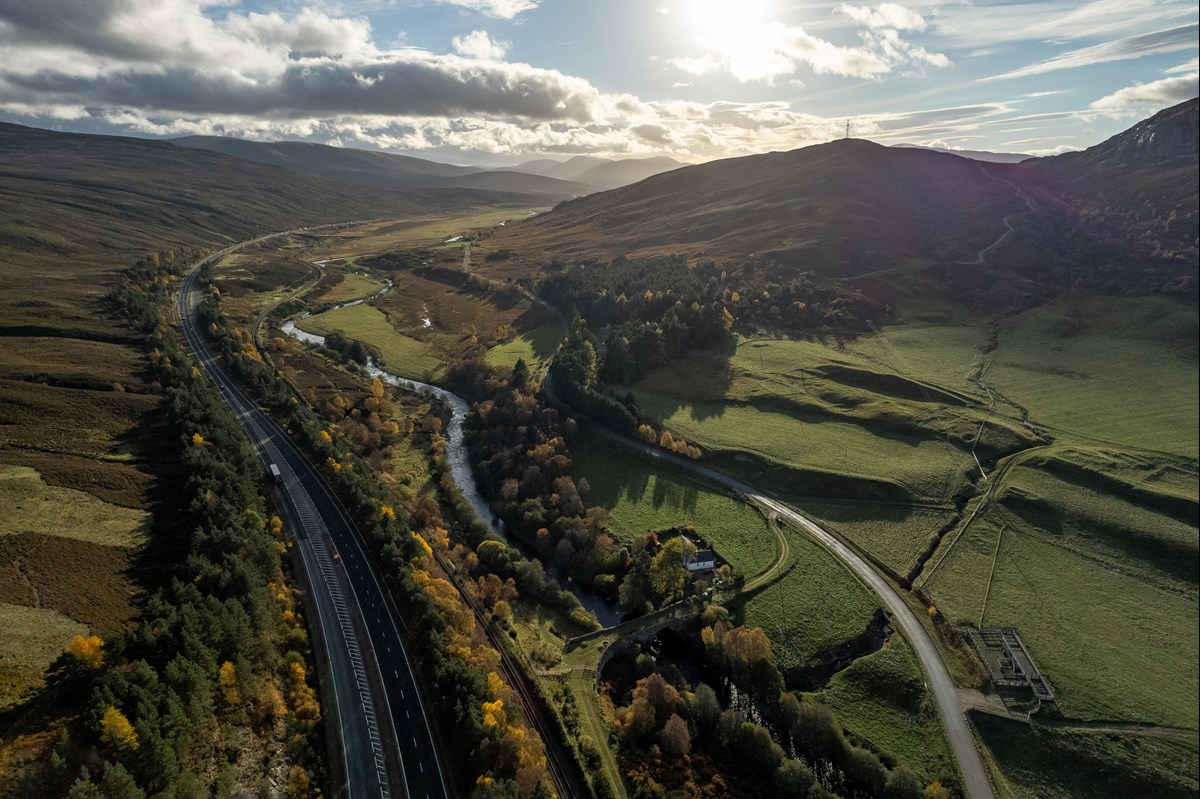
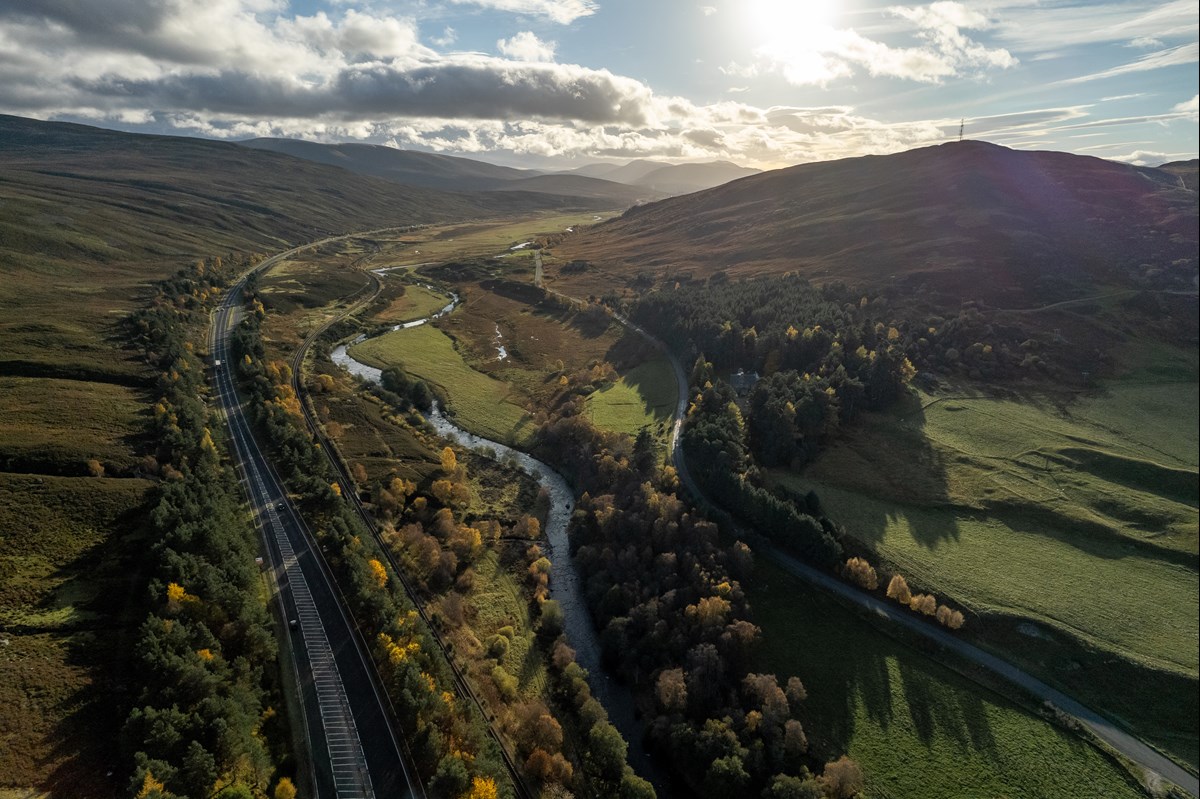
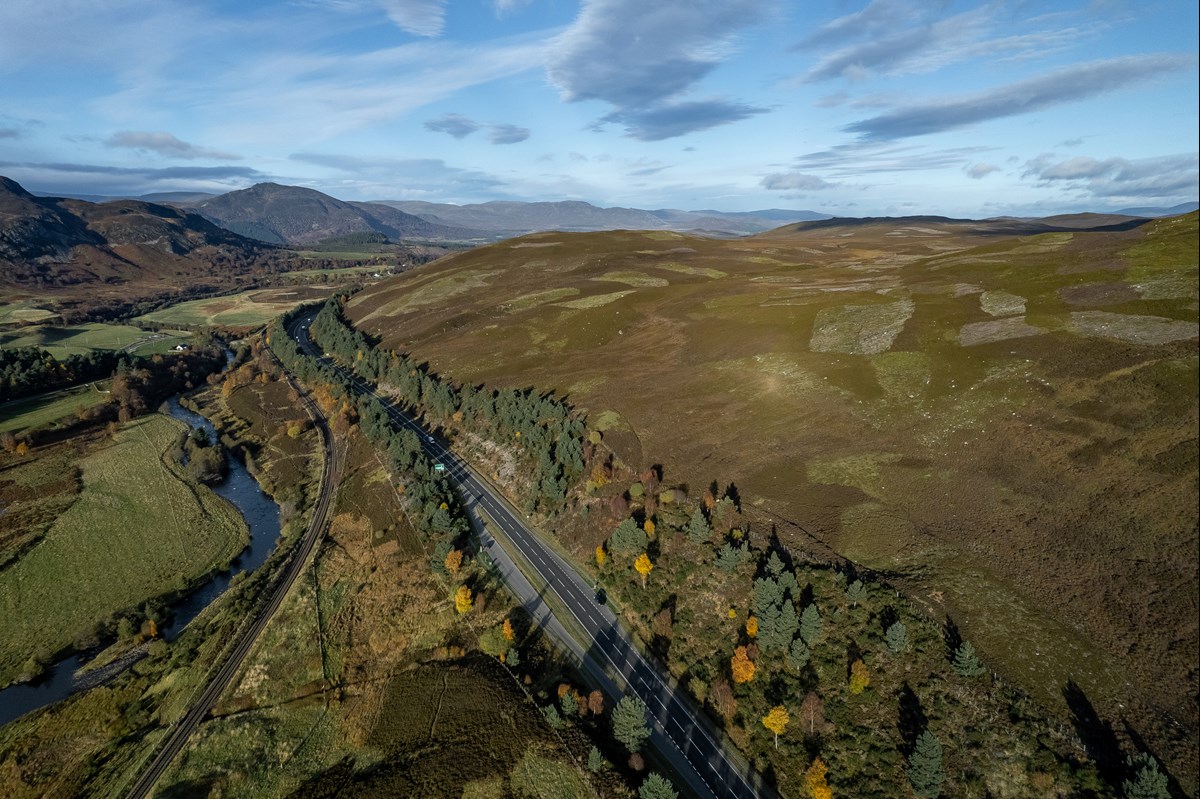
Background image - 20211104 = Dalwhinnie Crubenmore 004

Dalwhinnie to Crubenmore looking south - 4th Nov 2021

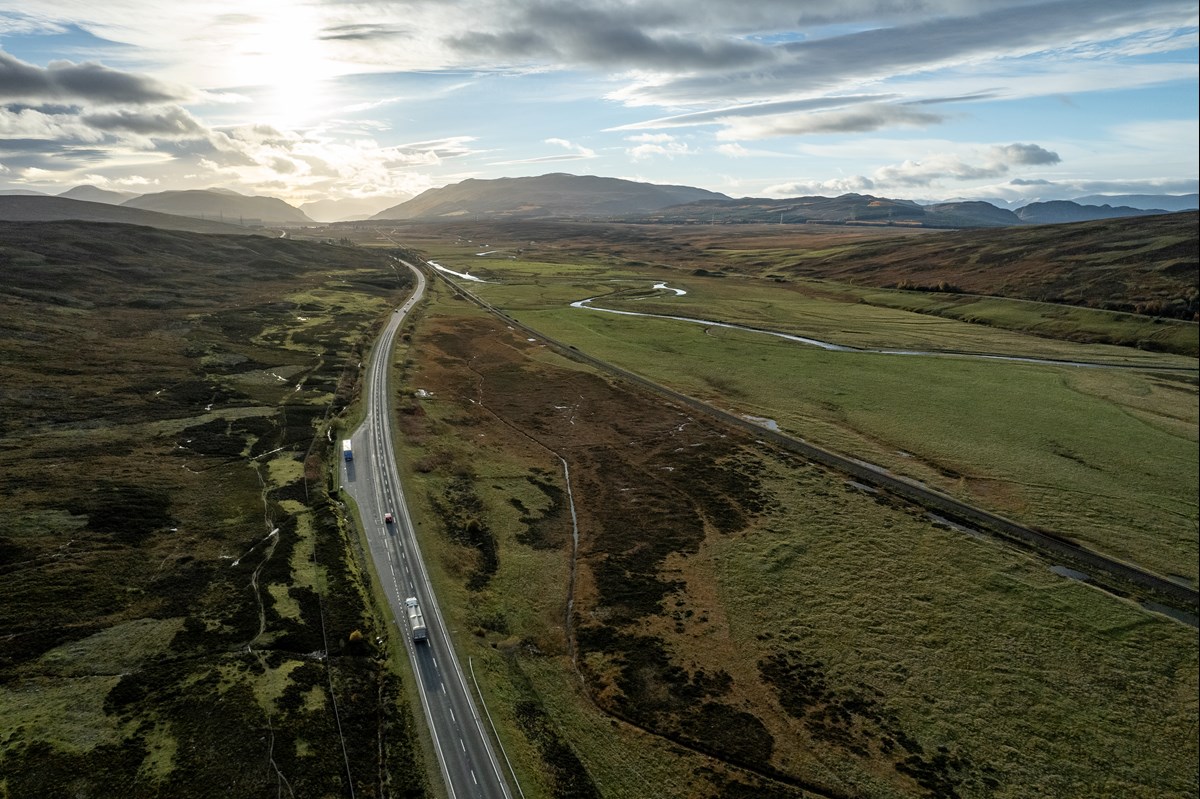
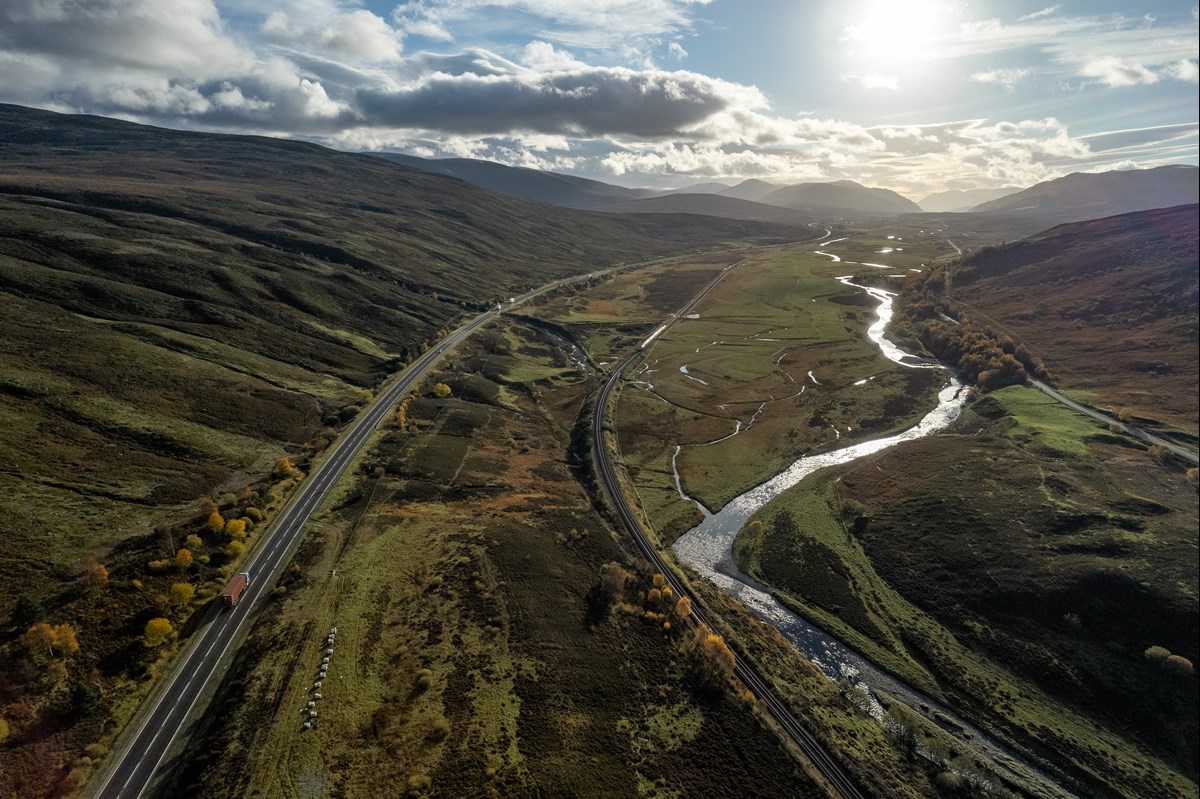
Background image - 20211104 = Dalwhinnie Crubenmore 005

Dalwhinnie to Crubenmore looking south - 4th Nov 2021

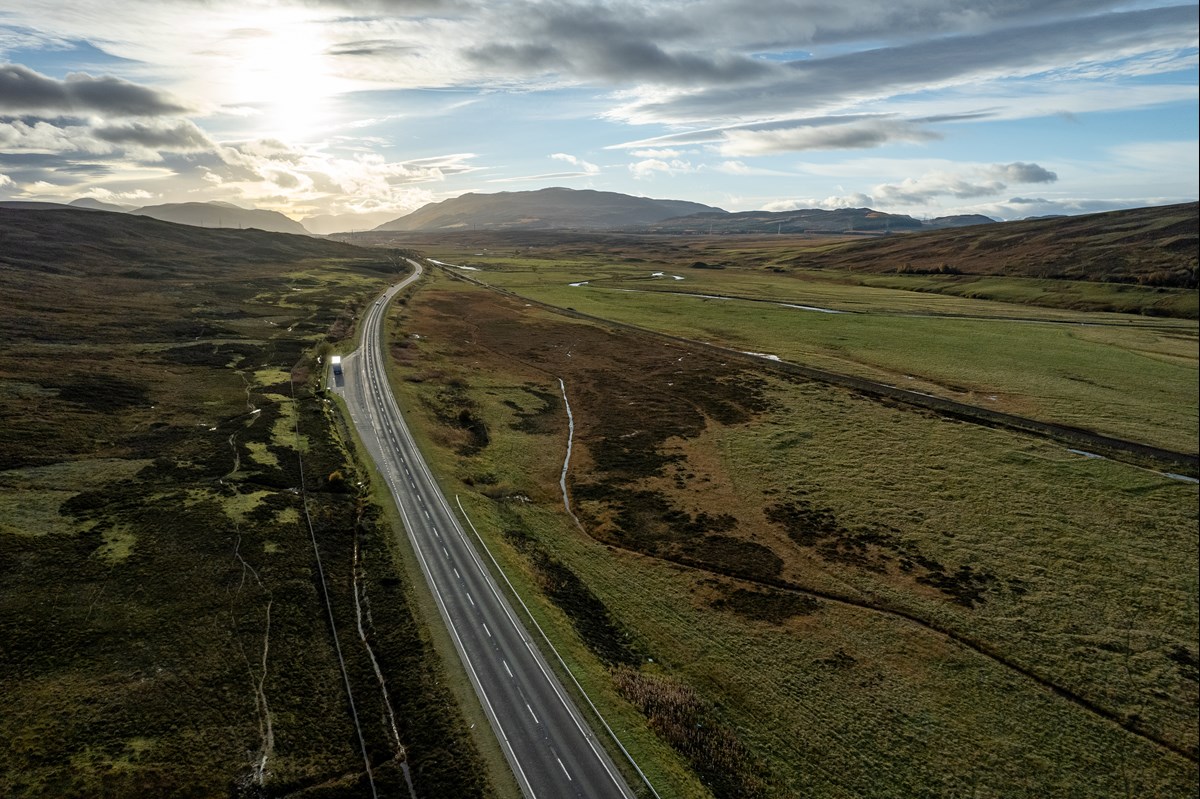
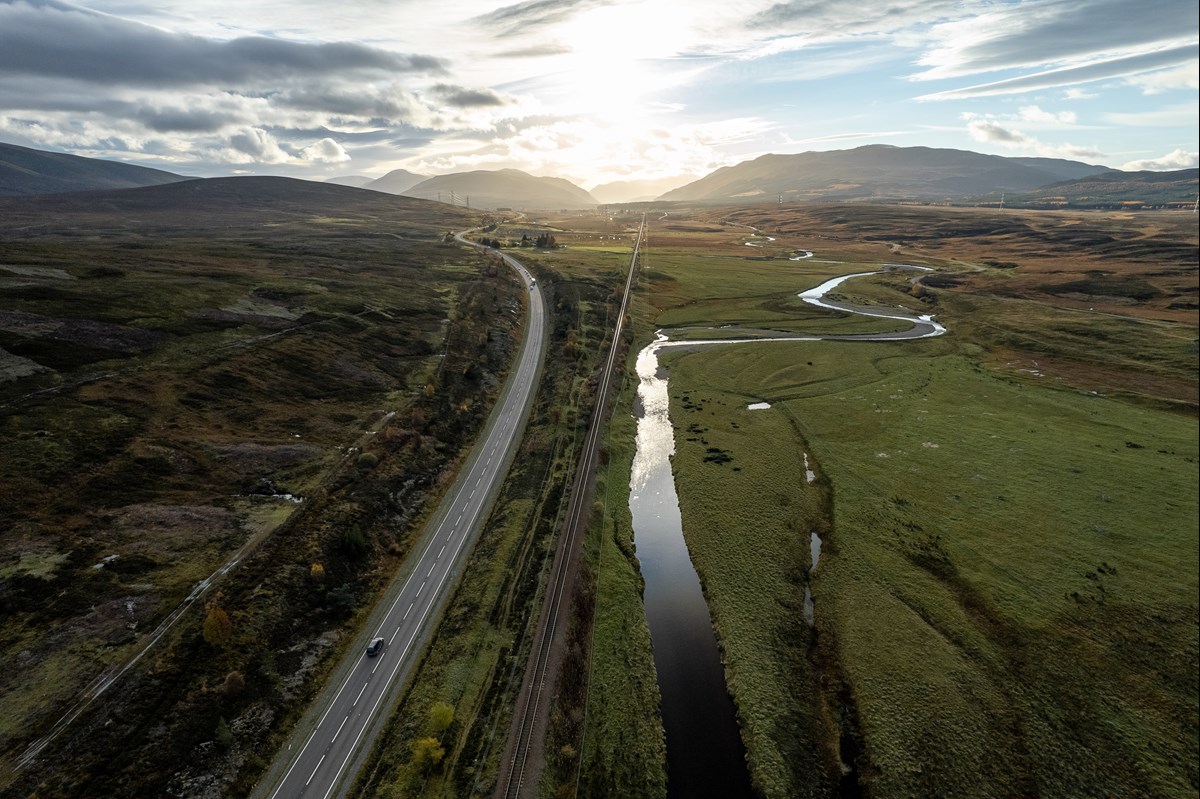
Background image - 20211104 = Dalwhinnie Crubenmore 010

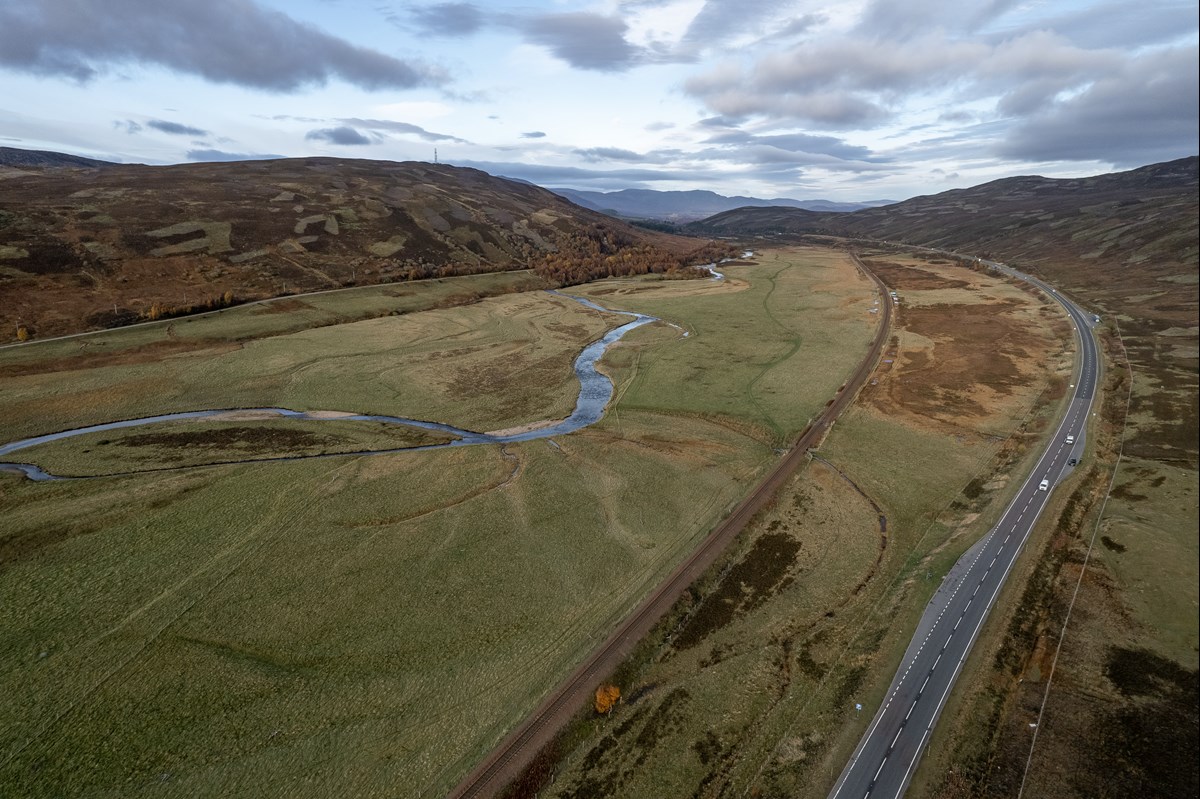
The Highland Main Line running alongside the A9

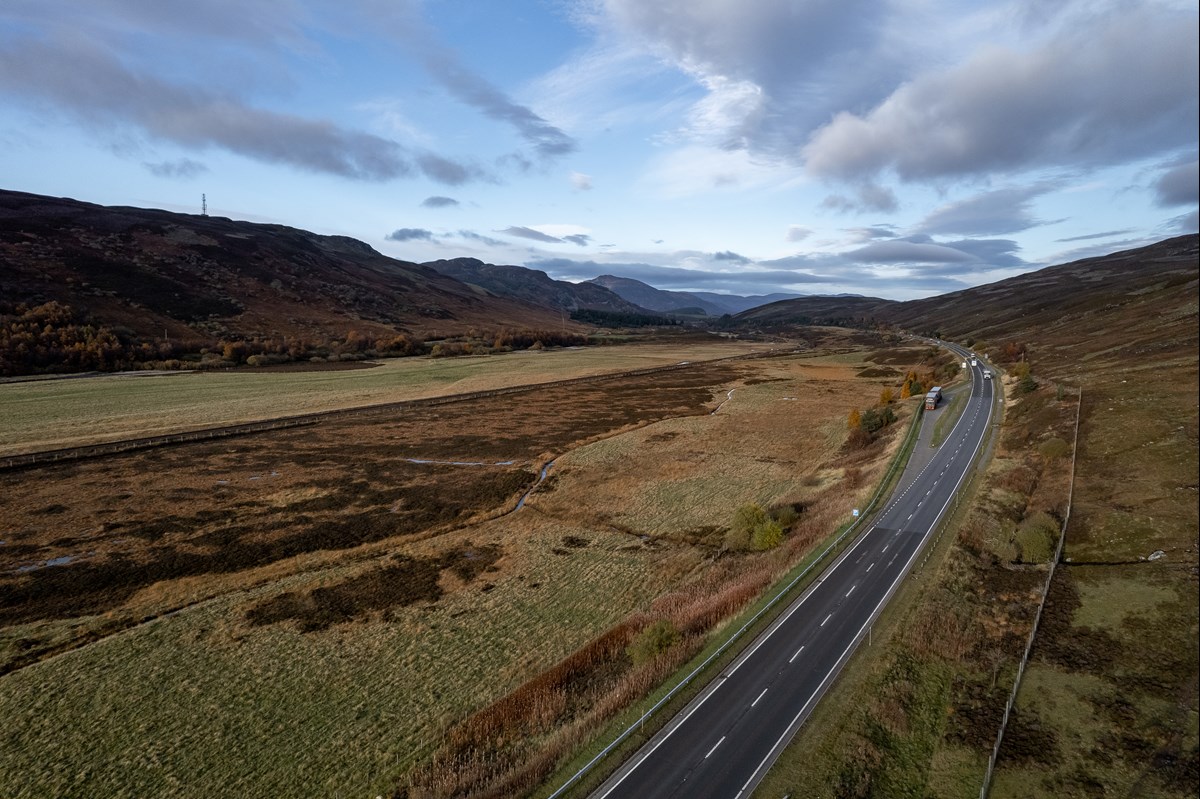
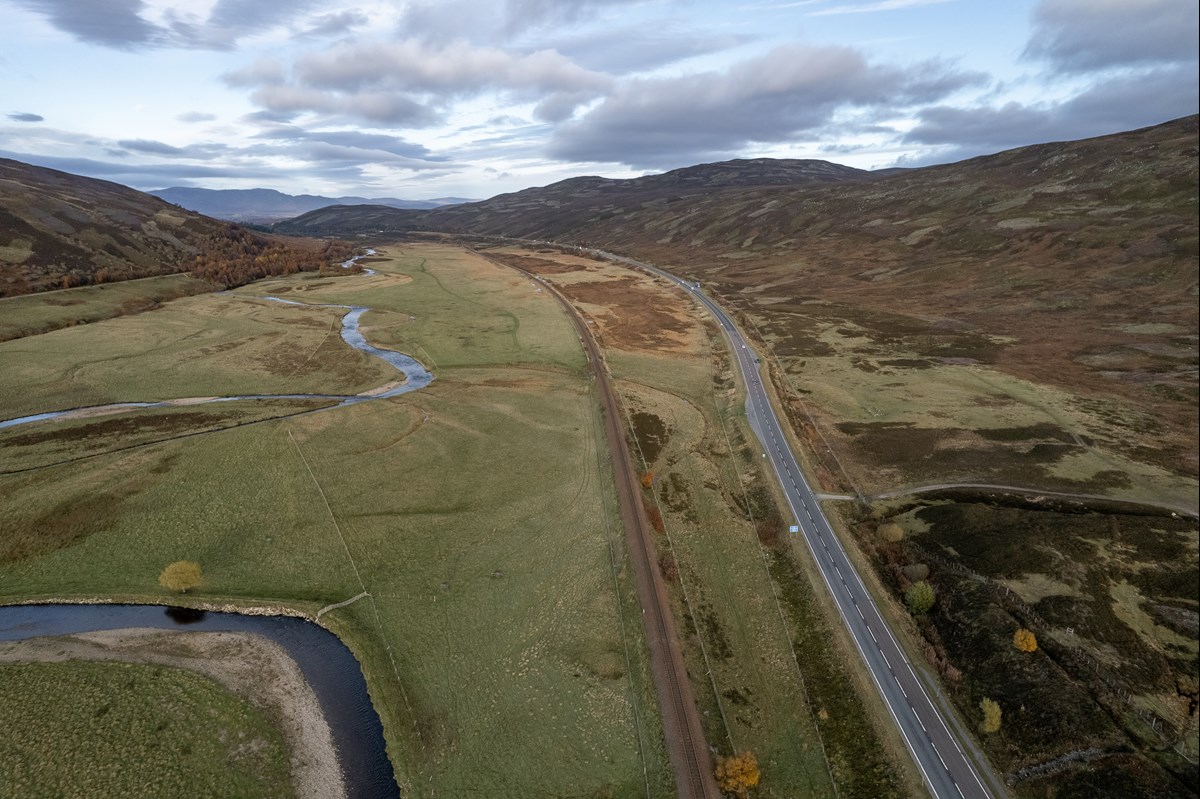
Background image - 20211104 = Dalwhinnie Crubenmore 009

Dalwhinnie to Crubenmore looking south - 4th Nov 2021

Background image - 20211104 = Dalwhinnie Crubenmore 008

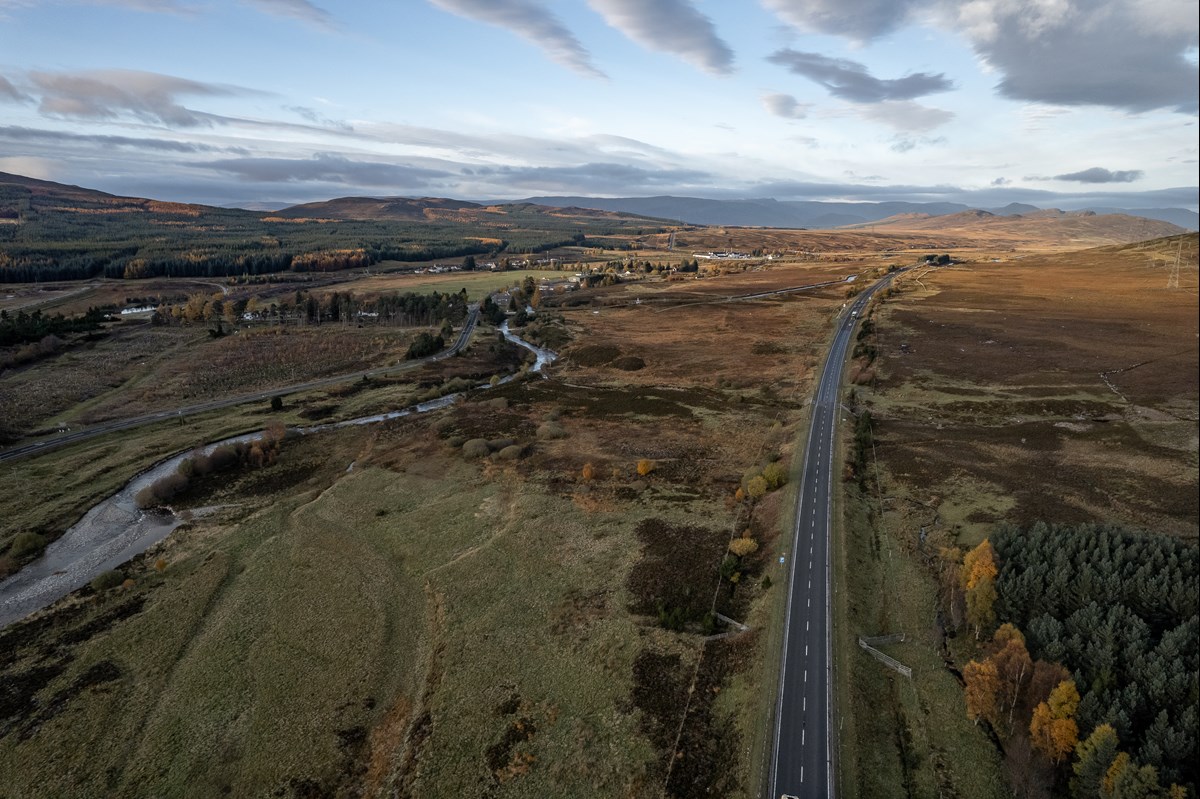
Dalwhinnie to Crubenmore looking north - 4th Nov 2021

Background image - 20211104 = Dalwhinnie Crubenmore 007

Dalwhinnie to Crubenmore looking north - 4th Nov 2021

Background image - 20211104 = Dalwhinnie Crubenmore 006

Dalwhinnie to Crubenmore looking south - 4th Nov 2021

Background image - 20211104 = Dalwhinnie Crubenmore 011

Dalwhinnie to Crubenmore looking south - 4th Nov 2021

Background image - 20211104 = Dalwhinnie Crubenmore 012

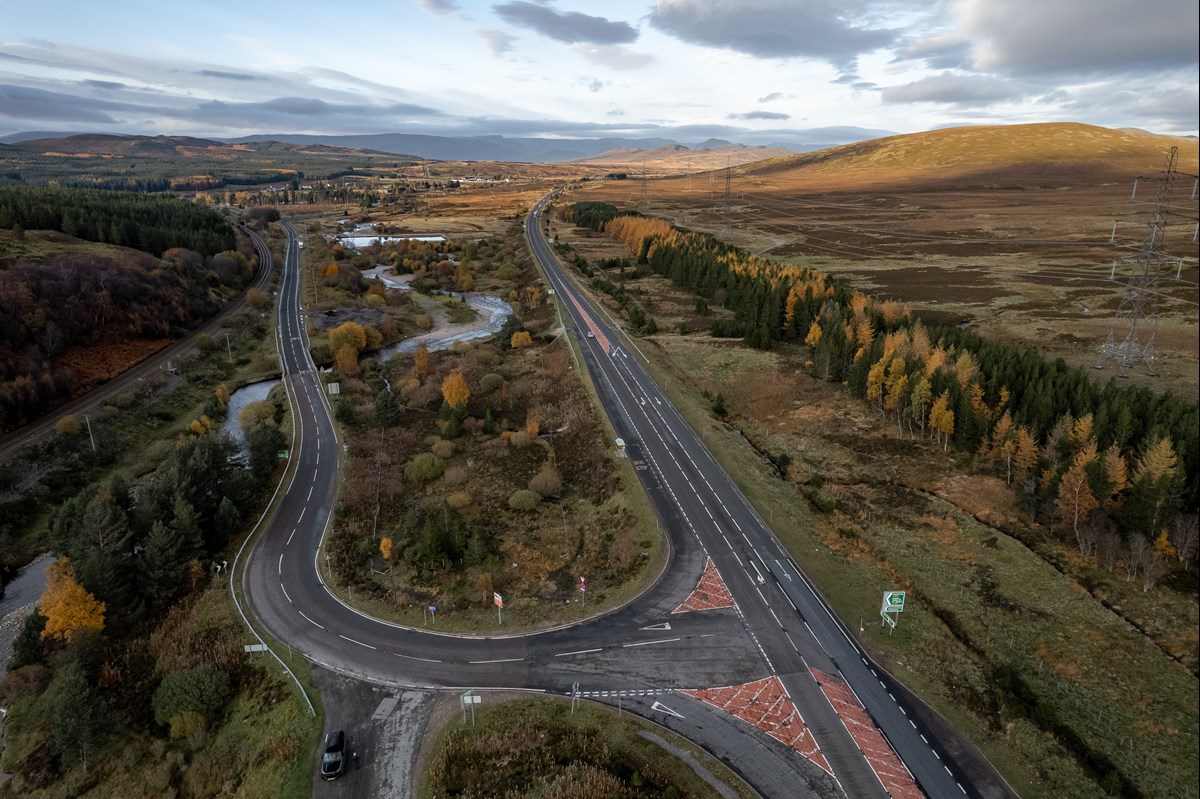
Dalwhinnie to Crubenmore looking north - 4th Nov 2021

Background image - 20211104 = Dalwhinnie Crubenmore 013

Dalwhinnie to Crubenmore looking north - 4th Nov 2021

Background image - 20211104 = Dalwhinnie Crubenmore 017

Dalwhinnie to Crubenmore looking north - 4th Nov 2021

Background image - 20211104 = Dalwhinnie Crubenmore 016

Dalwhinnie to Crubenmore looking north - 4th Nov 2021

1 7 8 9 10 11 18
Lightbox Image
Contact Terms and Conditions Accessibility